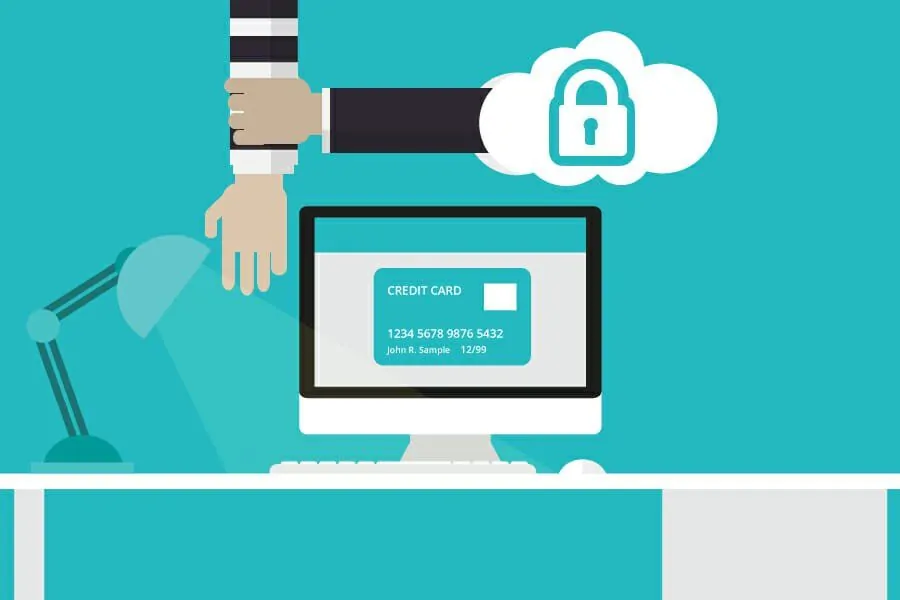
Keeping backups of your WordPress (WP) website is the only thing standing between you and a potential loss of months and years of work. This is why most website owners give a lot of thought to their third-party backup software, to facilitate the process of getting their files back. Some, on the other hand, prefer to use the pre-installed backup system for WP, which might be slightly more difficult. Either way, the security of your website is paramount.
[bctt tweet=”Without further ado, here’s a brief rundown on how to #restore #WordPress from #backup.”]
One last thing we have to mention before we start is the fact that moving WP site to another domain and restoring WP from the backup is not the same thing, which is a surprisingly common mistake.
Table of Contents
Different methods
As we hinted in the introduction, one of the simplest ways to make backups is to find the adequate backup plugin or third party software. In this way, you can have your website make automatic backups now and then, while you also have a choice of making manual backups whenever you hit a major milestone or simply feel like it.

The most significant problem with manual backups is the fact that they are both effort- and time-consuming, which makes users save things like themes and databases instead of backing up their entire website at once. This is especially true for those who decide to ignore the advice of seasoned website developers and stick to their custom-made layout. Sure, information stored this way can help you salvage your site, yet it makes your work a tad more complicated. The rest of the process will greatly depend on your choice of a backup plugin.
BackupBuddy
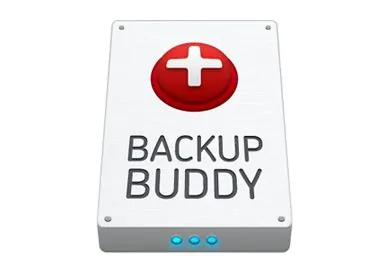
BackupBuddy is probably the flagship of backup plugins on WordPress, which is why it will be the first plugin we’ll discuss. To start the process of restoring your backup, you need to login to your website and go to the restore/mitigate page. Provided that you have the importbuddy.php file and make an adequate password for it, you’ll have most of your work already done. Now, if you have a complete backup, which is something we already discussed, you have to download it from your BackupBuddy and upload it to your website. Afterward, you can safely delete all of these files from your site.
On the other hand, in a scenario where you don’t have a complete backup, you first need to download those files you haven’t backed up. To get a clean start, place them in a safe folder and then delete them from the root directory. Once your root directory is clean, all you have to do is upload the backup and importbuddy.php back to the folder. Then, what you have to do is go to your website and type in the password you’ve established earlier.
From that point on, you have a fairly simple wizard, whereas you can look for advanced options. Depending on the reason behind your need for website restoration, you may or may not want to use your old databases. If the reason was a hacker’s attack, you might be better off by creating a new database. Also, going for third-party software like Security Ninja can help reduce the chance of the same problem recurring ever again.
UpdraftPlus Backup
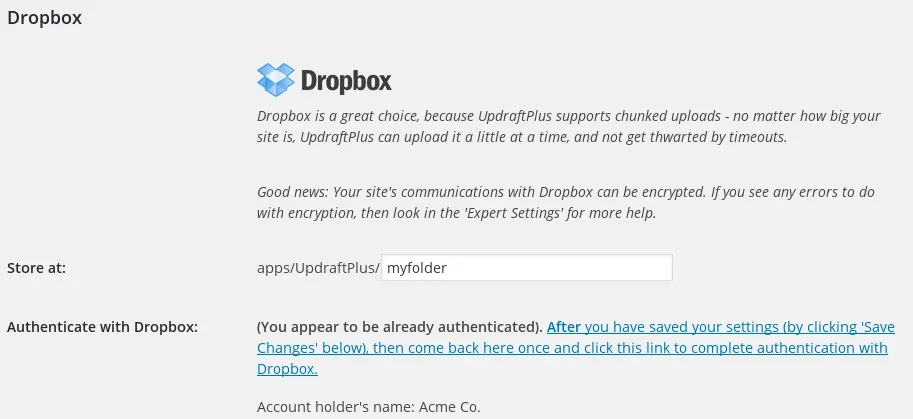
On the other hand, not everyone uses BackupBuddy, and there are those who prefer plugins like UpdraftPlus. The creation of complete website backups is one of this plugins stronger sides, which gives you more consistency in completing this task. Files generated by UpdraftPlus are so compact that some people decide to store them remotely in several different locations. For instance, they can be on the UpdraftPlus platform, as well as in Dropbox and Google Drive, at the same time, just in case.
Like in the previous situation, you need to get a fresh start, which is easily done by deleting all you have in the root folder (when it comes to this directory). Then, you should install WordPress all over again, followed by the activation of the UpdraftPlus plugin. From this point on, things get a bit more straightforward. You visit the settings page and proceed to the UpdraftPlus Backups page. There, you have a big restore button, which then presents you with an option to upload your backup files. Then, you click restore once more and proceed to complete a fairly simple few-points-long intuitive wizard.
This process may seem a bit simpler than what we described with its predecessor, but that’s only due to the habit of the UpdraftPlus backup platform to focus on full-site backups rather than saving individual elements. While this process may seem as simpler, on a day-to-day basis, it’s more time and resource consuming.
In conclusion
While the above-listed two methods and plugins may seem like more trouble than what you’ve bargained for, keep in mind that restoring your website from scratch isn’t something you’re expected to do on a regular basis. This is more or less like the issue of car insurance. It’s an investment that you make in hopes of never actually having to use it.
Still, it’s always much better to be safe than sorry when it comes to protecting some of your most valuable assets. For an online business, there’s no asset as valuable as their website and nothing as terrifying as losing it and all data related to it.