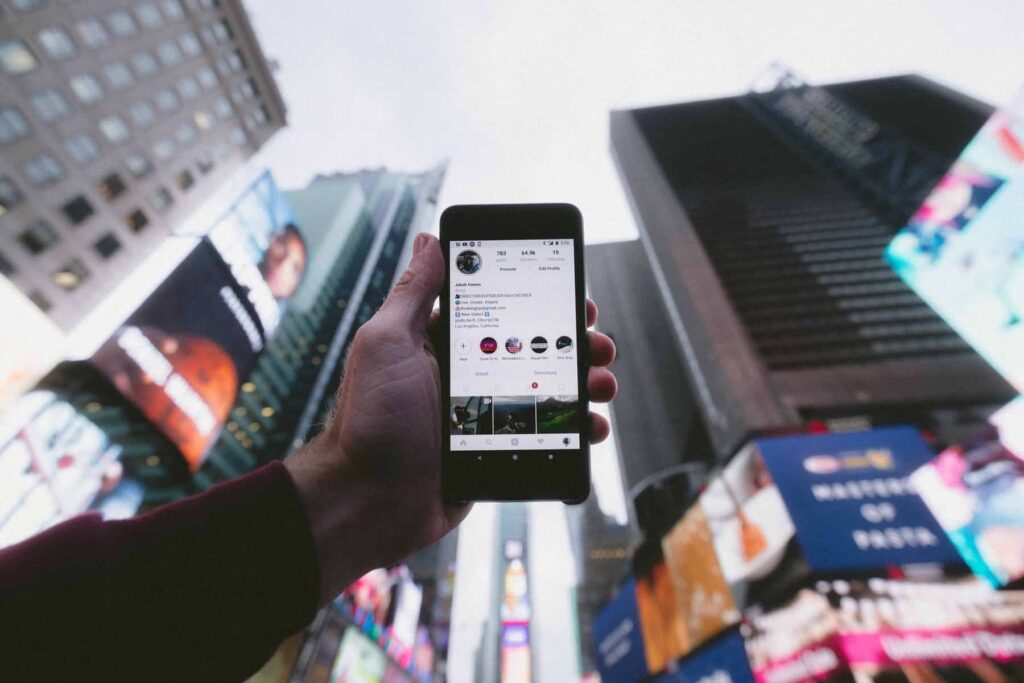
For many brands & companies, setting up advertising campaigns is an essential step in generating new Instagram followers and customers. Most of them do not know all the opportunities available to them on the Facebook Business Manager. And in particular, this is a useful feature that retargets the website visitors on Instagram.
Why is it relevant to retarget a user on a social platform where he spends time scrolling through the posts of the people/brands he follows? At a time when customers are drowned in hundreds of content every day, and with an increasingly limited attention span, brands must know how to repeat the fact that they exist in the mind of their potential customers. In this context, website visitors are often a key audience not to be missed to promote the growth of your business.
So, in this article, we will explain to you step by step how you, too, could benefit from this growth opportunity before thinking of conquering new prospects who have never heard of your brand.
Table of Contents
1) Prepare the site for data collection
This is the first step to put in place as soon as possible if you plan to retarget visitors to your website. Indeed, it will take the material to reuse for your advertising campaigns, and therefore, depending on the traffic of your website. It will take more or less time to collect enough data necessary to launch an advertisement for several hours, days, or weeks depending on the case.
For this, it will be necessary to install the Facebook pixel on your website. This is a code dedicated to loading on all the pages of your site, allowing you to create the connection between your site visitors, Facebook, and your Business Manager module.
2) Create one or more personalized audience (s)
Once your pixel is correctly installed on your site, it’s time to move on to creating one or more audience (s) corresponding to the people you want to reach via advertising on Instagram. You will have two main possibilities:
- target all website visitors
- target only visitors to certain pages of the website

You will also be asked to define the period over which you want data to be collected to target people who are still potentially in a purchasing cycle for your products/services.
3) Select the right advertising placement
Once your audience corresponding to website visitors is created, you just need to add it to the line “Personalized audiences” presented during the targeting criteria definition screen, then to choose the appropriate advertising placement.
4) Personalize the advertising content according to the navigation of Users
Once at the level of the last configuration screen of your advertising campaign, it is now time to choose the content (s) displayed on the screens of the targeted people.
It may be more interesting to segment your advertising retargeting approach while making sure to personalize the advertisements as much as possible according to the precise navigation of users on your site. The reason is that some of them may be located within an advanced level than others in terms of purchase intention.