Get started with Security Ninja
Thank you for buying Security Ninja ♥
Simple installation:
- Check Your Email: After your purchase, you will receive an email containing your license key and a temporary download link for the WP Security Ninja Pro plugin.

- Download the Plugin: Click on the download link in your email to download the WP Security Ninja Pro plugin to your computer.
- Log In to Your WordPress Dashboard: Access your WordPress site and navigate to the dashboard.
- Upload the Plugin: Go to Plugins > Add New > Upload Plugin. Choose the downloaded plugin file and click Install Now.
- Activate the Plugin: Once the plugin is uploaded, click on Activate Plugin.
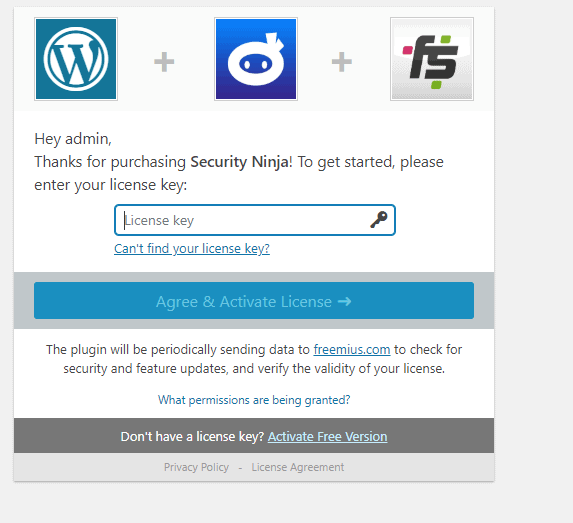
- Enter Your License Key: Navigate to the WP Security Ninja settings page. Enter the license key that you received in your email and click Save Changes.

- Run the Install Wizard: Use the Install Wizard to set up basic protection for your site. This step-by-step guide will help you quickly configure the essential settings.

You are done! Now the plugin is running and protecting your website.
What do do next?
The wizard sets up protection for your website that we from experience know works on all servers and configurations. However, there is more power in Security Ninja that can help you ensure your website is safe.
These features are not enabled through the wizard as they have the potential to limit functionality that might be needed with some plugins. We recommend enabling a feature and then testing the website for any issues afterwards.
Check out the other features, go to your WordPress admin page and start testing your security for other security measures to take.
You can visit wpsecurityninja.com/account/ to download the latest version of the plugin, get an invoice, upgrade your package, and more. Create a support ticket here if you have questions: https://wpsecurityninja.com/help/
Written by Lars Koudal