Banning a range of IPs in the firewall is a straightforward process that can be invaluable for protecting your website from malicious activities.
Step-by-Step Guide
1. Navigate to the Firewall tab in your WP Security Ninja dashboard.
2. Scroll down to the section labeled “Blacklist IPs”.
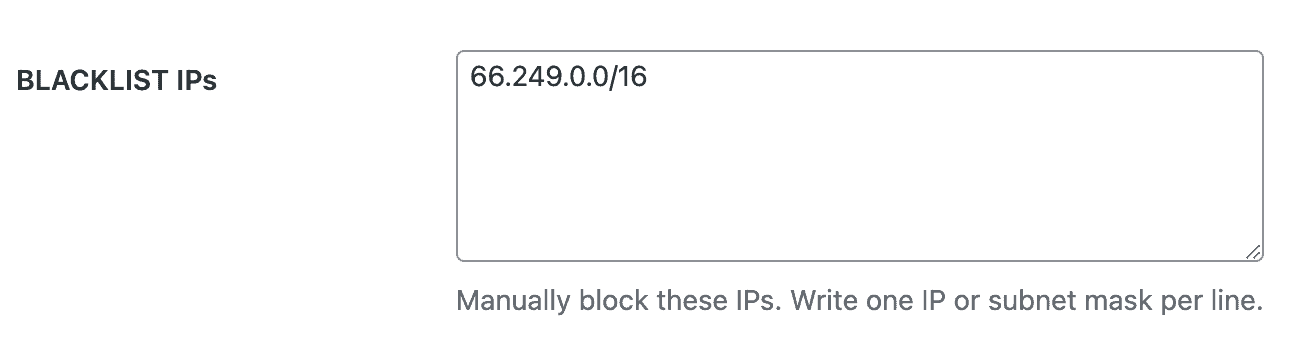
3. In the input field, enter the IP range using a subnet mask. For example:
66.249.0.0/16
Additional Examples
You can also use different subnet masks to specify a more or less restrictive range. Here are some examples:
192.168.1.0/24– This will block all IPs from 192.168.1.0 to 192.168.1.25510.0.0.0/8– This will block all IPs from 10.0.0.0 to 10.255.255.255172.16.0.0/12– This will block all IPs from 172.16.0.0 to 172.31.255.255
Once you’ve entered the IP range, any IPs that match the specified range will be automatically blocked.
Verifying Blocked IPs
You can use the IP tester tool to verify that the correct IPs are being blocked.

Simply enter an IP address into the IP tester input box and click the submit button. If the IP is within the blocked range, the tool will confirm that it is indeed blocked.
Written by Lars Koudal
Get AI-Powered Security Summary
Let AI analyze this WordPress security article and provide actionable insights from WP Security Ninja experts.