When Cloud Firewall (Pro) blocks a visitor (banned IP, country rule, or other firewall rule), you choose what they see next: a message on your site, or a redirect to another URL.
Configure this on Security Ninja → Firewall → Settings after the firewall is enabled.
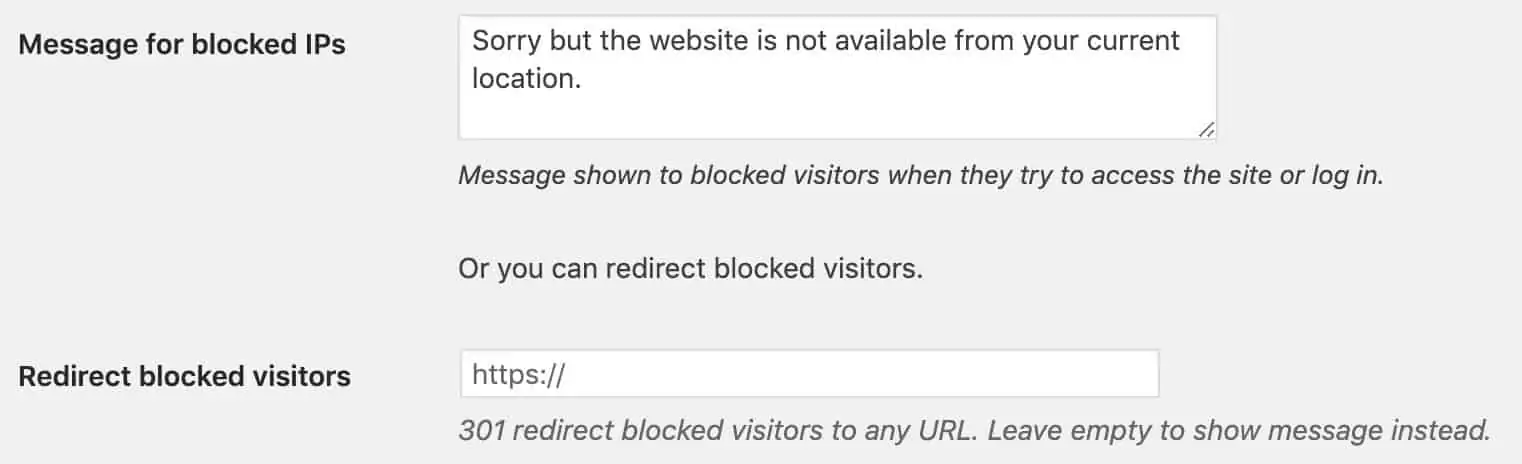
Show a message (default)
Leave Redirect blocked visitors empty. Blocked visitors see your custom ban message (or the default message).
This applies when the visitor is blocked by the shared bad-IP list, a local blacklist, a country rule, or other firewall enforcement that denies the request.
Redirect to another URL
- Open Security Ninja → Firewall → Settings.
- Find Redirect blocked visitors.
- Enter a full URL, for example
https://example.com/blocked/. - Save settings.
Blocked visitors receive a 301 redirect to that URL.
Switch back to a message
Clear the redirect URL field and save. The firewall returns to showing the ban message.