From MainWP you can manage Security Ninja firewall whitelist and blacklist entries on Pro child sites without opening each site’s wp-admin.
Requirements
- Security Ninja for MainWP Pro on the Dashboard
- Security Ninja Pro on the child site(s)
- Child sites at Security Ninja 5.285 or newer for remote IP actions
- Security Ninja for MainWP 2.1.0+ (bulk Manage IPs from 2.2.0)
Per-site IP management
- Open the child site’s Security Ninja page in MainWP (from the Sites table or the extension).
- Open the IP management tab.
- Review synced whitelist, blacklist, and temporary blocks.
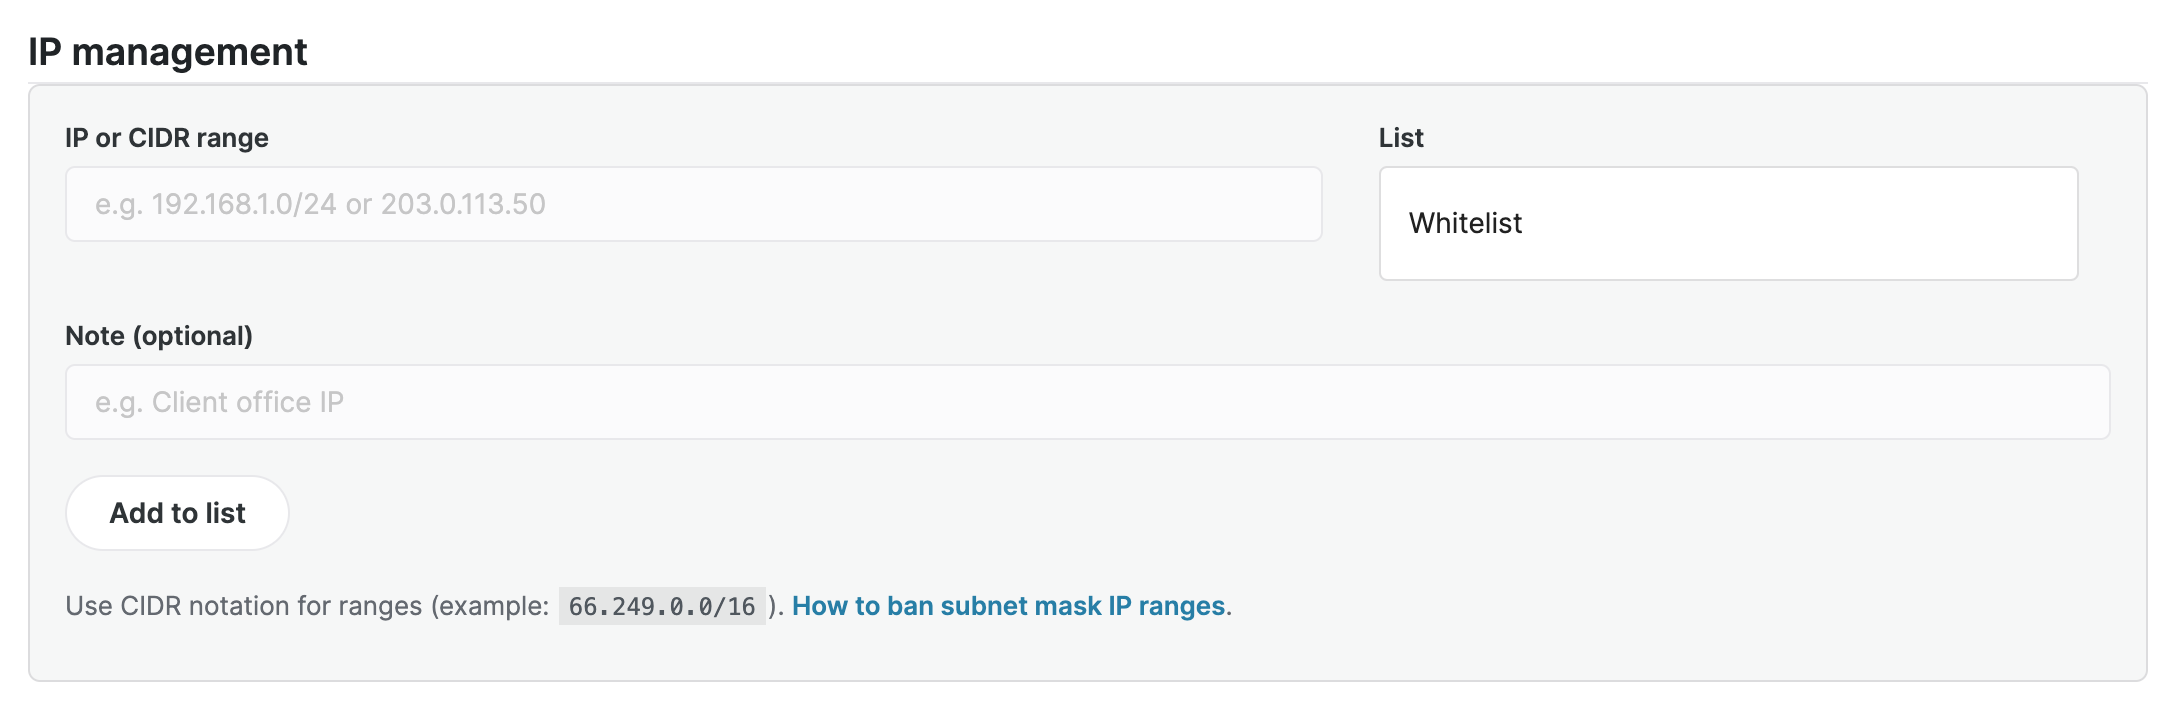
- Enter an IP or CIDR, choose whitelist or blacklist, add an optional note, then click Add to list.
- Remove entries or lift local / 404 Guard bans when those actions are available for the synced data.
- Sync the site if the table looks stale after remote changes.
Remote IP management needs a successful sync so MainWP has the child’s IP lists.
Bulk Manage IPs
- Go to Sites → Manage Sites and select the Pro child sites you want to update.
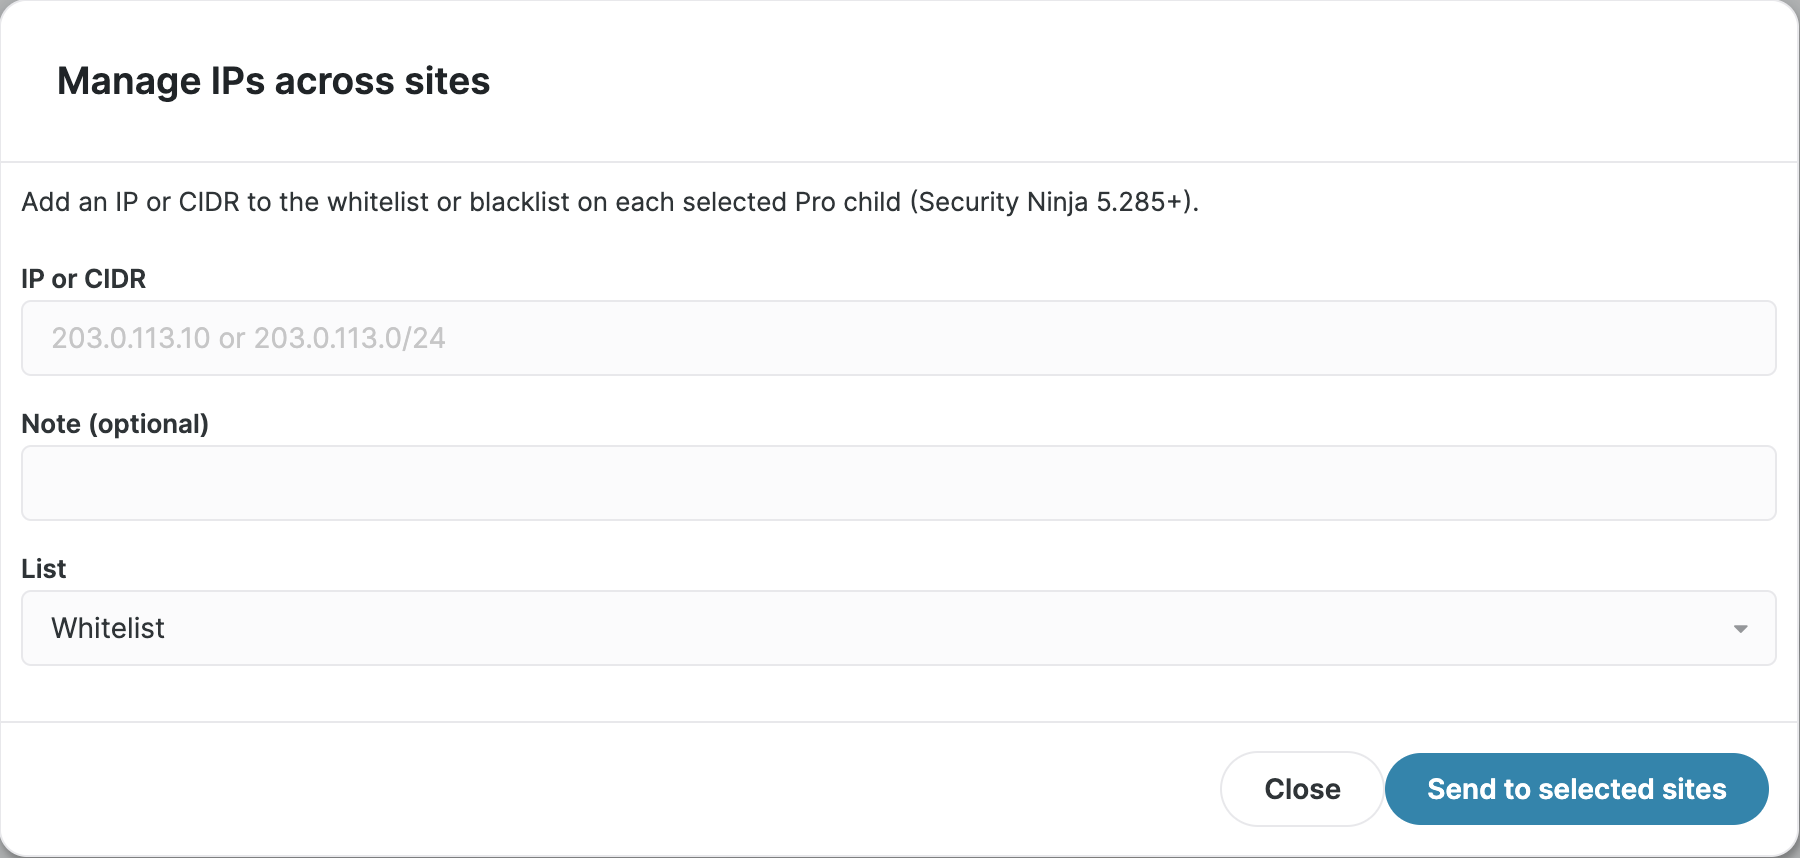
- Choose Manage IPs (Security Ninja).
- Choose the change:
- Add to whitelist
- Add to blacklist
- Remove from whitelist
- Remove from blacklist
- Lift ban
- Lift 404 ban
- Enter the IP or CIDR. Add a note when you create a whitelist or blacklist entry.
- Confirm. Each selected site that meets the version and Pro requirements receives the change.
- Run MainWP Sync on the same selection so the Dashboard IP tables refresh.
Sites below 5.285 or without Pro are skipped with a message.
Removing rules and lifting bans
Removing a whitelist or blacklist entry needs the same IP or CIDR stored on the child.
Lift ban clears a temporary local firewall ban. Lift 404 ban clears a temporary 404 Guard ban. These actions do not add the address to a permanent whitelist. Sync afterward to confirm the temporary block disappeared.