Free vs Pro
- Free: 8G firewall rules that inspect requests and block many malicious patterns.
- Pro: Cloud Firewall with 600M+ known bad IPs, country blocking, brute-force login limits, rename login, block “admin” login, visitor messaging/redirects, and related settings described below.
If you landed here after searching “ninja firewall,” this is WP Security Ninja’s firewall. NinjaFirewall by NinTechNet is a separate plugin. See Security Ninja vs NinjaFirewall if you need the comparison.
The Pro firewall is not enabled automatically on install. That is intentional: save the secret access URL first so you can recover if you lock yourself out.
Prefer a guided setup? Use the installation wizard. After enabling protection, test key flows (login, checkout, APIs) so legitimate traffic is not blocked.

Filter Suspicious Queries (Free)
The free 8G-based request firewall blocks many malicious URI, query string, user agent, and referrer patterns. On Firewall → Settings, turn on Filter Suspicious Queries.
Details: Filter Suspicious Queries and 8G firewall rules.
Visitor IP detection (Free and Pro)
Choose how the firewall resolves visitor IPs for bans, whitelists, country blocking, and logging. Especially useful behind Cloudflare or a reverse proxy.
On Firewall → Settings, open Visitor IP detection, use Preview all methods, and pick the mode that shows your real public IP. If Automatic still shows a load-balancer IP, add that proxy under Trusted proxy CIDRs. Available in Security Ninja 5.303 and later.
Details: Visitor IP detection.
Enable the firewall (Pro)
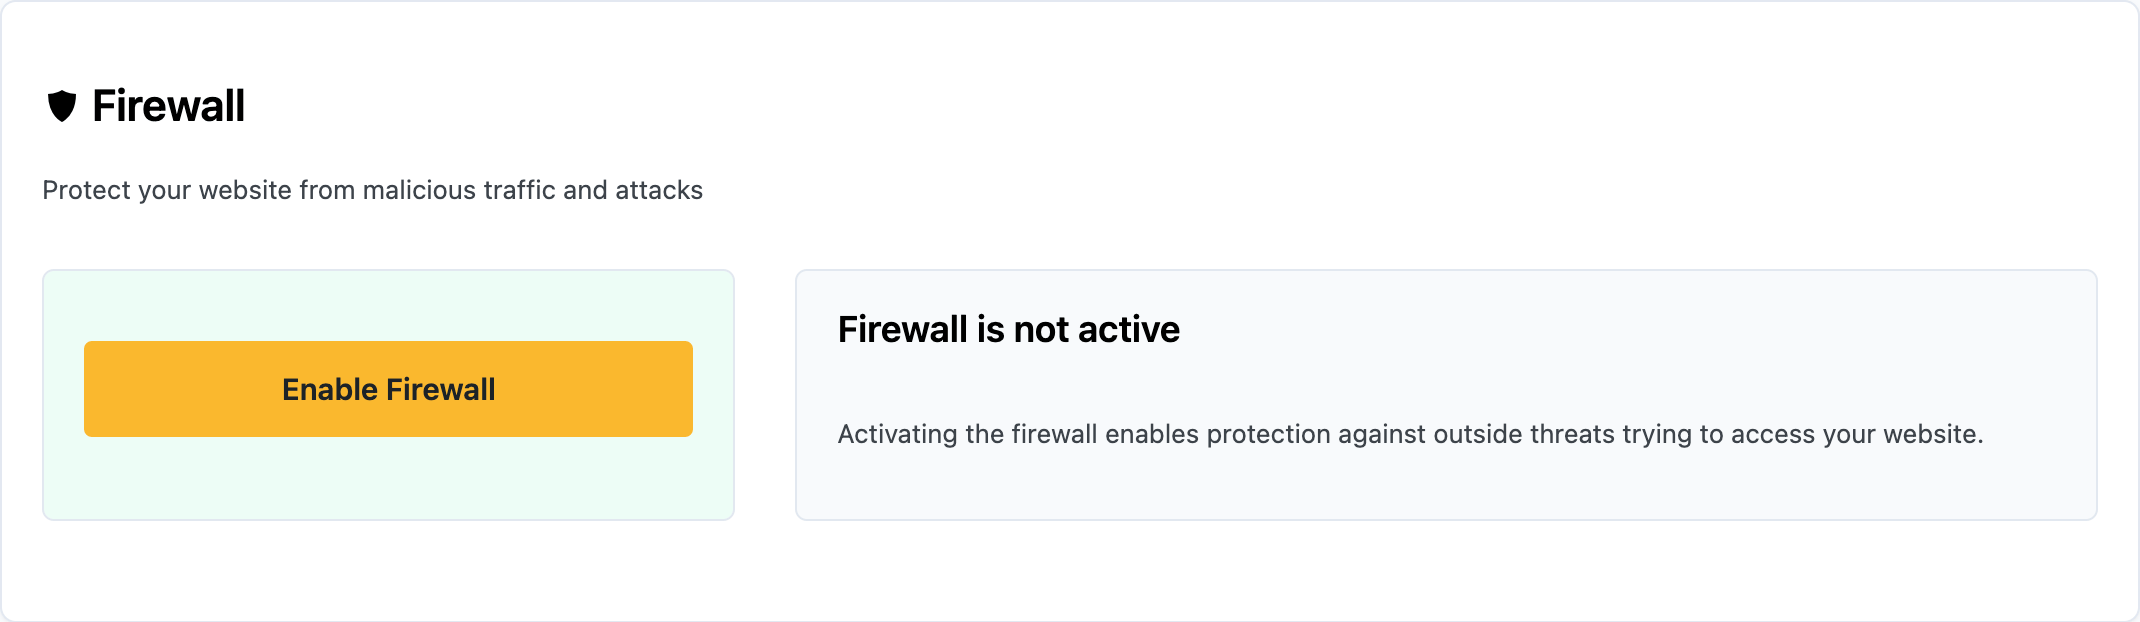
On the Firewall Settings tab, turn the firewall on. A popup explains recovery and shows the secret access URL. You can copy it or email it to yourself. After a short wait, Close continues setup.
Configure protection
Prevent banned IPs from accessing the site
- On: cloud and local bans block the visitor from the whole site.
- Off: banned IPs cannot log in but can still view the front end.
This control sits with your other Firewall Settings. IP rules and blocks are managed under IP Management.

Message for banned IPs
Customize the message shown to blocked visitors (or use redirect instead).
Auto-ban rules (failed logins)
If an IP fails login too often, it is banned locally.
Defaults: maximum 5 failed logins within 5 minutes → ban for 2 hours.
Configure these under Login form protection.
Login notice
Optional warning shown on the login form about lockouts after repeated failures.
Block “admin” login
Blocks login attempts that use the username admin. Only enable this if no administrator still uses that username.
Change login URL
Rename the default login path away from wp-login.php / wp-admin. Slug may use letters, numbers, underscore, and hyphen (default placeholder my-login). Details: Change login URL.

Country blocking
Select countries to block. Detection uses IP2Location LITE data, updated on your site about monthly while the firewall stays active. Accuracy is good but not perfect (VPNs can bypass country rules).

This product includes IP2Location LITE data available from https://lite.ip2location.com.
More: How to block a country.
Whitelist and blacklist IPs
Open Firewall → IP Management and click Add IP rule. Enter one IP or CIDR per line, optionally add a note, then choose Blacklist or Whitelist and save. Whitelisted IPs keep access even if they appear on the cloud list or a country block.
Details: How to blacklist an IP.
Secret access URL
Recovery link if you lock yourself out. See Secret Access URL.
Test IP
Check whether a given IP is currently blocked or allowed from the Firewall tools or IP Management screens.
How often are lists updated?
- Bad IP / Cloud Firewall list: updated daily in the background (
secnin_update_cloud_firewall) from FireHOL Level 1, a public set of addresses tied to spam, malware, and attacks. That can stop some of those IPs before they hit comments, registration, or probes. It does not read email. - Country (IP2Location) database: downloaded when the firewall is enabled, then refreshed on a regular schedule (monthly-oriented geo update) while the plugin remains active.