Installing Pro is the same flow as Free, except you upload the Pro zip and activate a license.
Install Security Ninja Pro
- After purchase, open the email with your license key and download link.
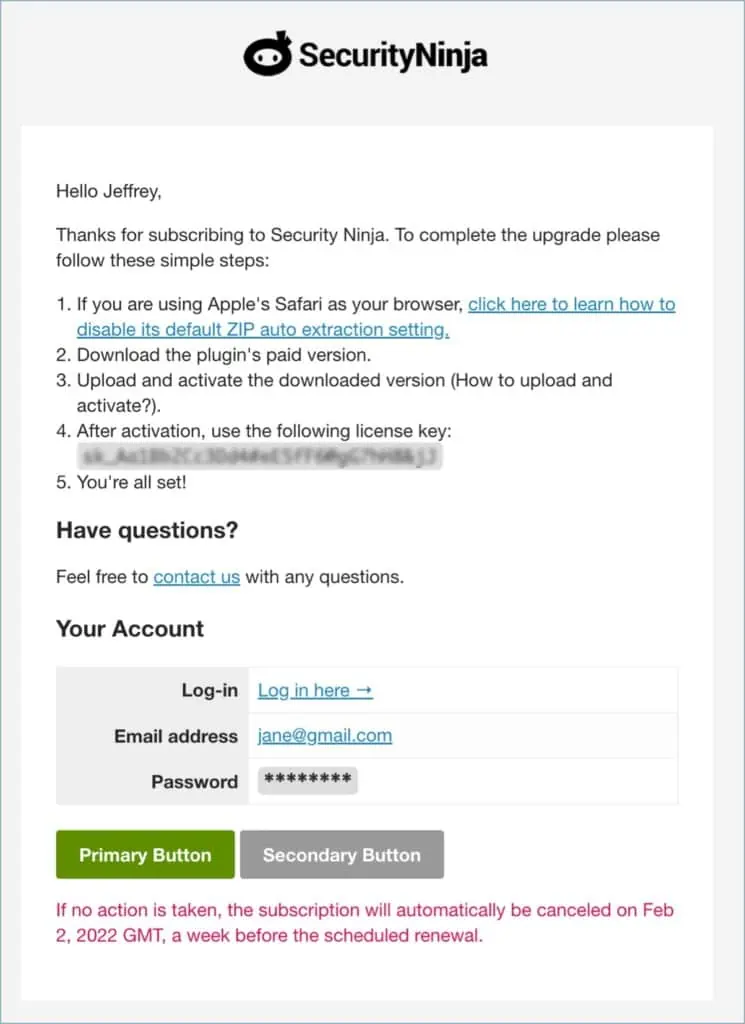
- Download the Pro zip to your computer.
- Log in to WordPress.
- Go to Plugins → Add New → Upload Plugin, choose the zip, and click Install Now.
- Click Activate Plugin.
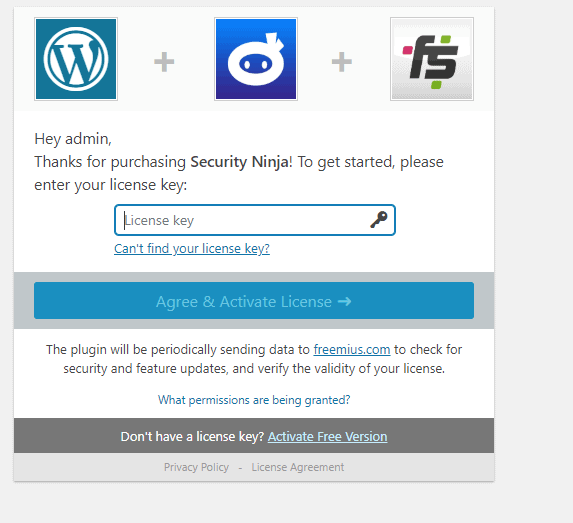
- Enter the license key when prompted (or open Security Ninja → Account and activate there).
- Run the Installation Wizard to turn on a basic protection baseline.
You can always download the latest zip, get invoices, and change plans from your account.
Missing purchase email
- Check spam or junk folders.
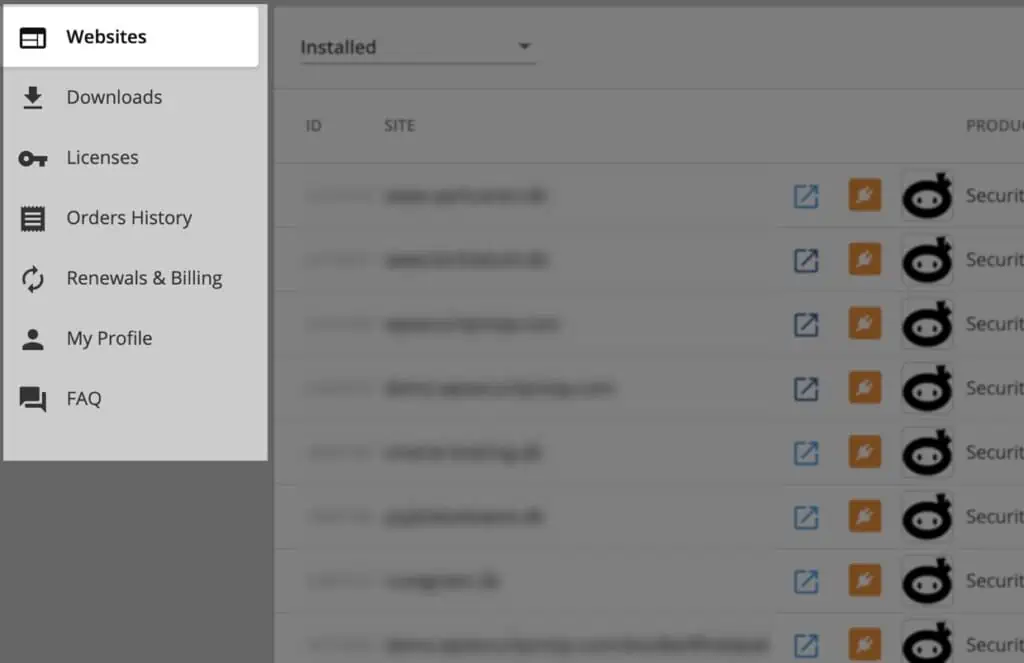
- Sign in at the Account page and open purchases or downloads for the key and zip.
- If you still cannot get in, contact support.
Cannot find the license key
- Check the purchase email.
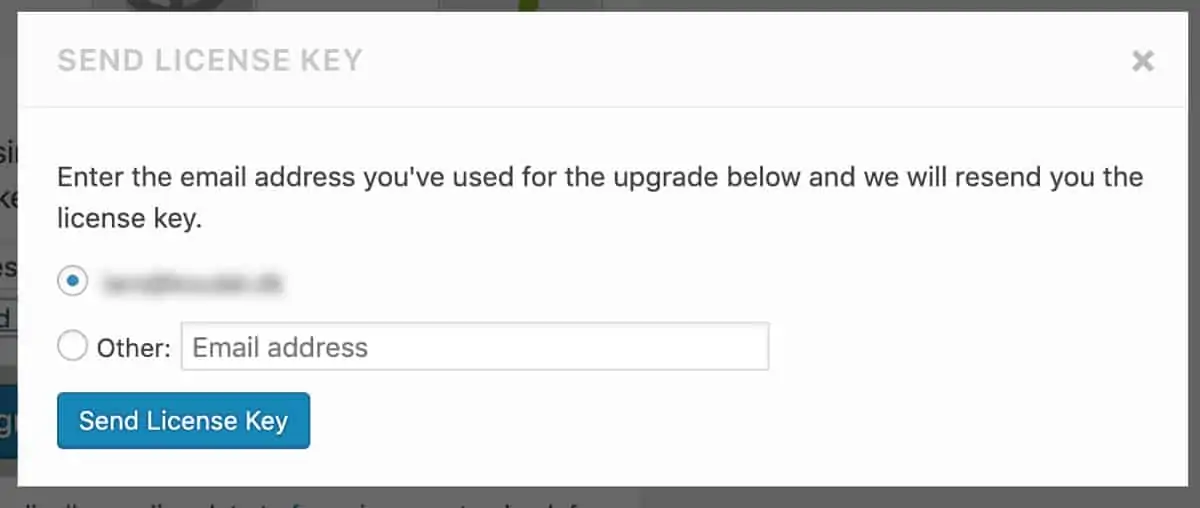
- On the license screen in the plugin, click Can’t find your license key? and enter the purchase email. We resend the key.
After the key validates, open the plugin pages and finish setup with the wizard.