How to Manually Blacklist an IP Address with WP Security Ninja
WP Security Ninja allows you to manually block specific IP addresses easily. This is done through the Firewall tab in your WP Security Ninja dashboard.

Steps to Blacklist an IP
Navigate to the Firewall tab and scroll down to the option labeled ‘Blacklist IP. Any IP address you enter here will be denied access to your website.
Important Note
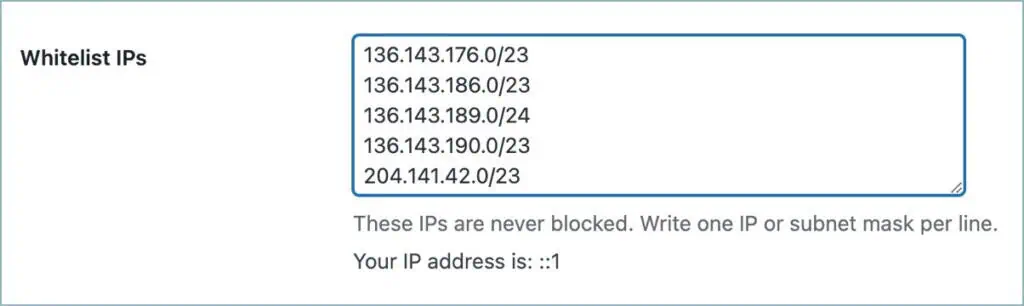
If you accidentally enter your own IP address in both the blacklist and whitelist fields, don’t worry. The whitelist will take precedence, ensuring you won’t block yourself.
Blocking IP Ranges
You can also block a range of IPs by entering a subnet mask.
Whitelisting IPs
Alternatively, you can whitelist an IP address. This means that if the firewall is active, actions from a whitelisted IP will be monitored but not blocked.
Related Resources
Written by Lars Koudal
Get AI-Powered Security Summary
Let AI analyze this WordPress security article and provide actionable insights from WP Security Ninja experts.